Curved hair
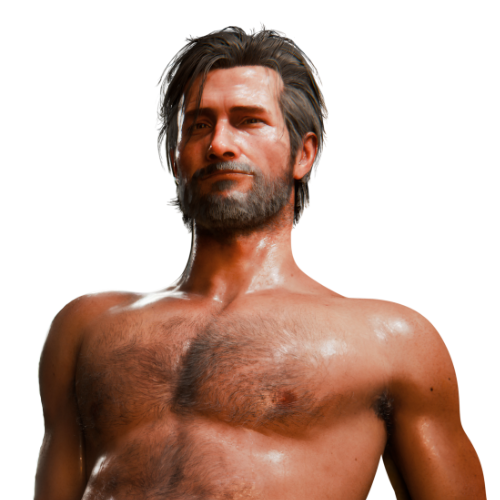
This is the new hair system introduced in Blender 3.3, based on the Curves object type. It's used for creating realistic hair, fur, and other strand-based effects.
Due to its superior visual results and performance compared to the legacy particle hair system, I will be using Curves Hair as the exclusive method for all future character hair creation.
Some very useful assets
Einar - hair grooming file (Free download @Blender Studio)
- Development diary (Blender Developer Blog)
Geometry Node Asset: Hair Nodes (Free download @Johnny Matthews Gumroad)
- Youtube tutorial (@Johnny Matthews Youtube)
Both with very useful geometric nodes for procedural hair correction.
Workflow & Tips
Performance Optimization: Turn off Surface Deform When Posing
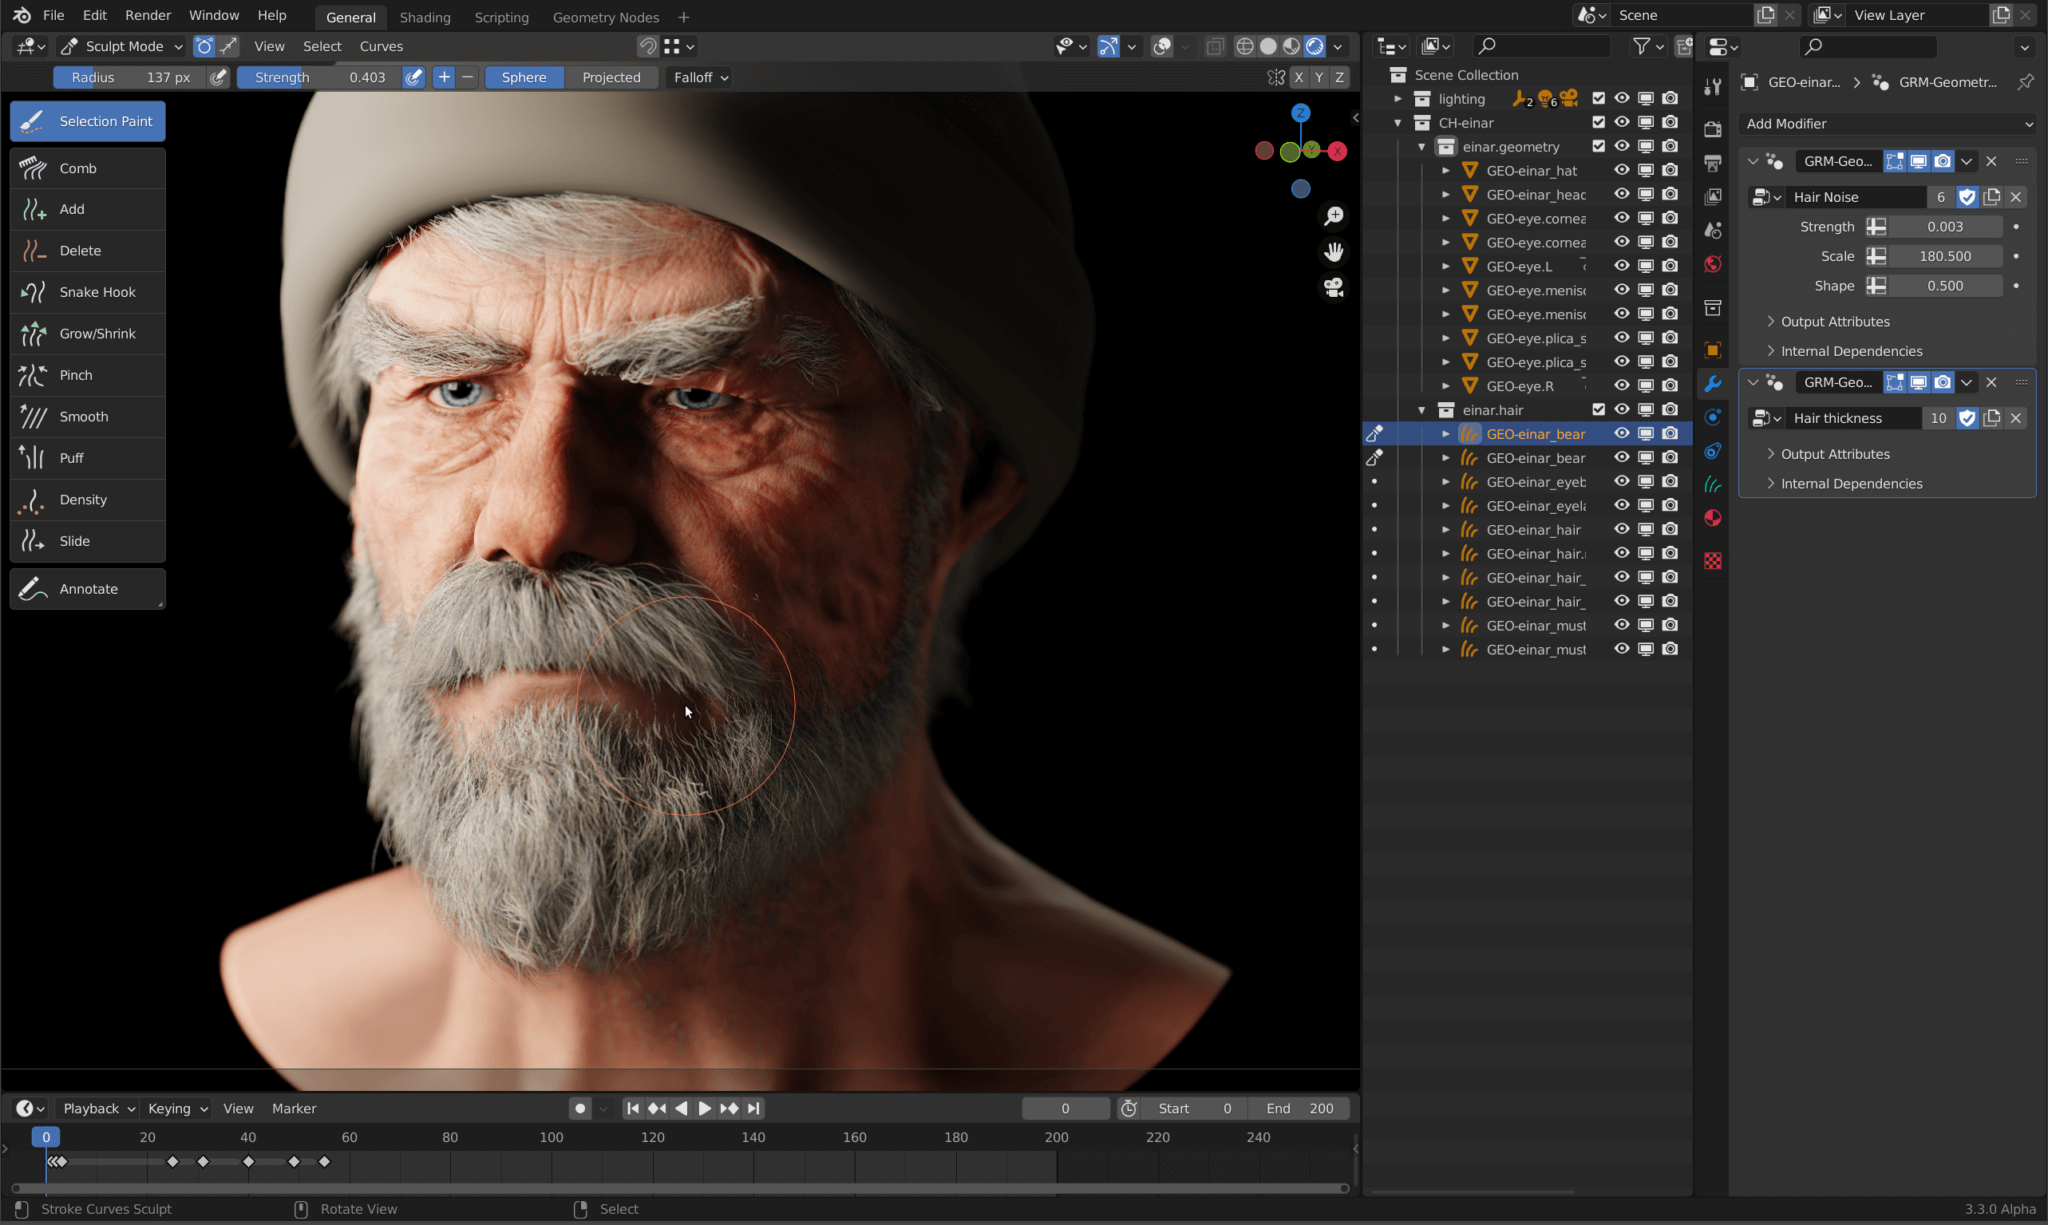
Curves Hair must be bound to a character mesh using Geometry Nodes to follow its deformation. However, this process is computationally expensive and can severely degrade viewport performance, causing significant lag when posing the character.
Due to Blender's logic issues, even if you hide the collection containing the hair or disable its view visibility, the hair's Shell model will still follow the character.
You need to disable the corresponding Geometry Nodes in the modifier panel, Of course, I would recommend using Mustard UI for control, as it would be more convenient.
Solving Clipping Issues with Clothing September 24, 2025 Updated
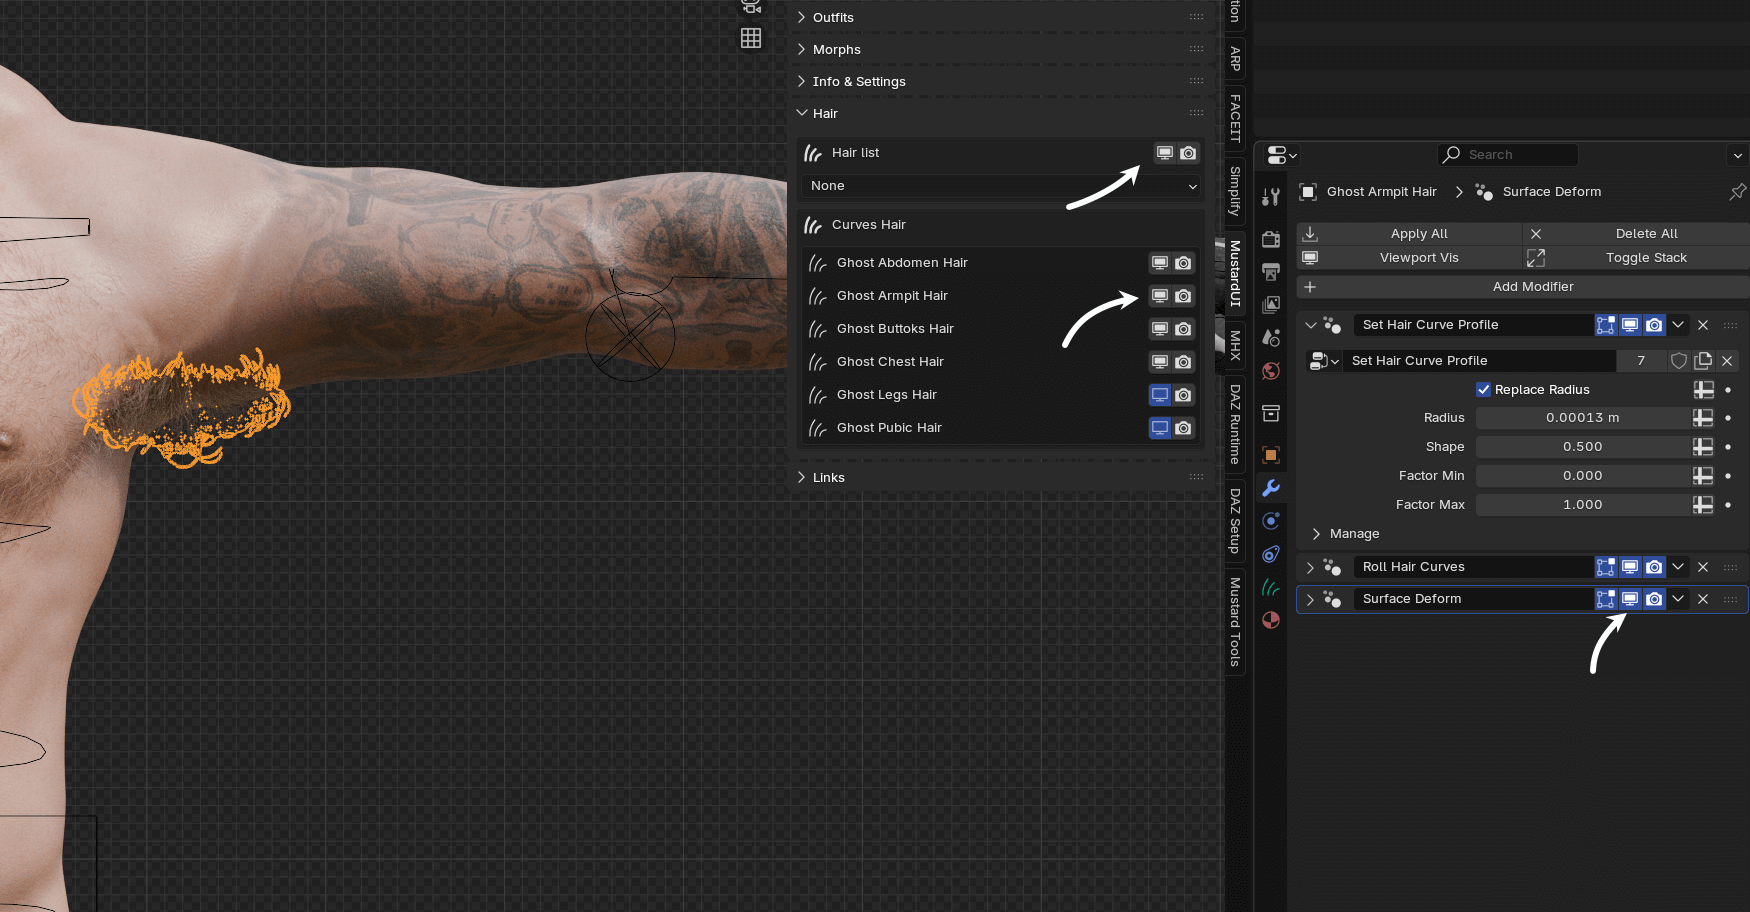
When a character is dressed, body hair (like abdomen hair) will almost inevitably clip through the clothing. This is a very common problem. Here are two effective methods to solve it.
Method 1: Post-Processing Composite Fix (Ideal for Stills)
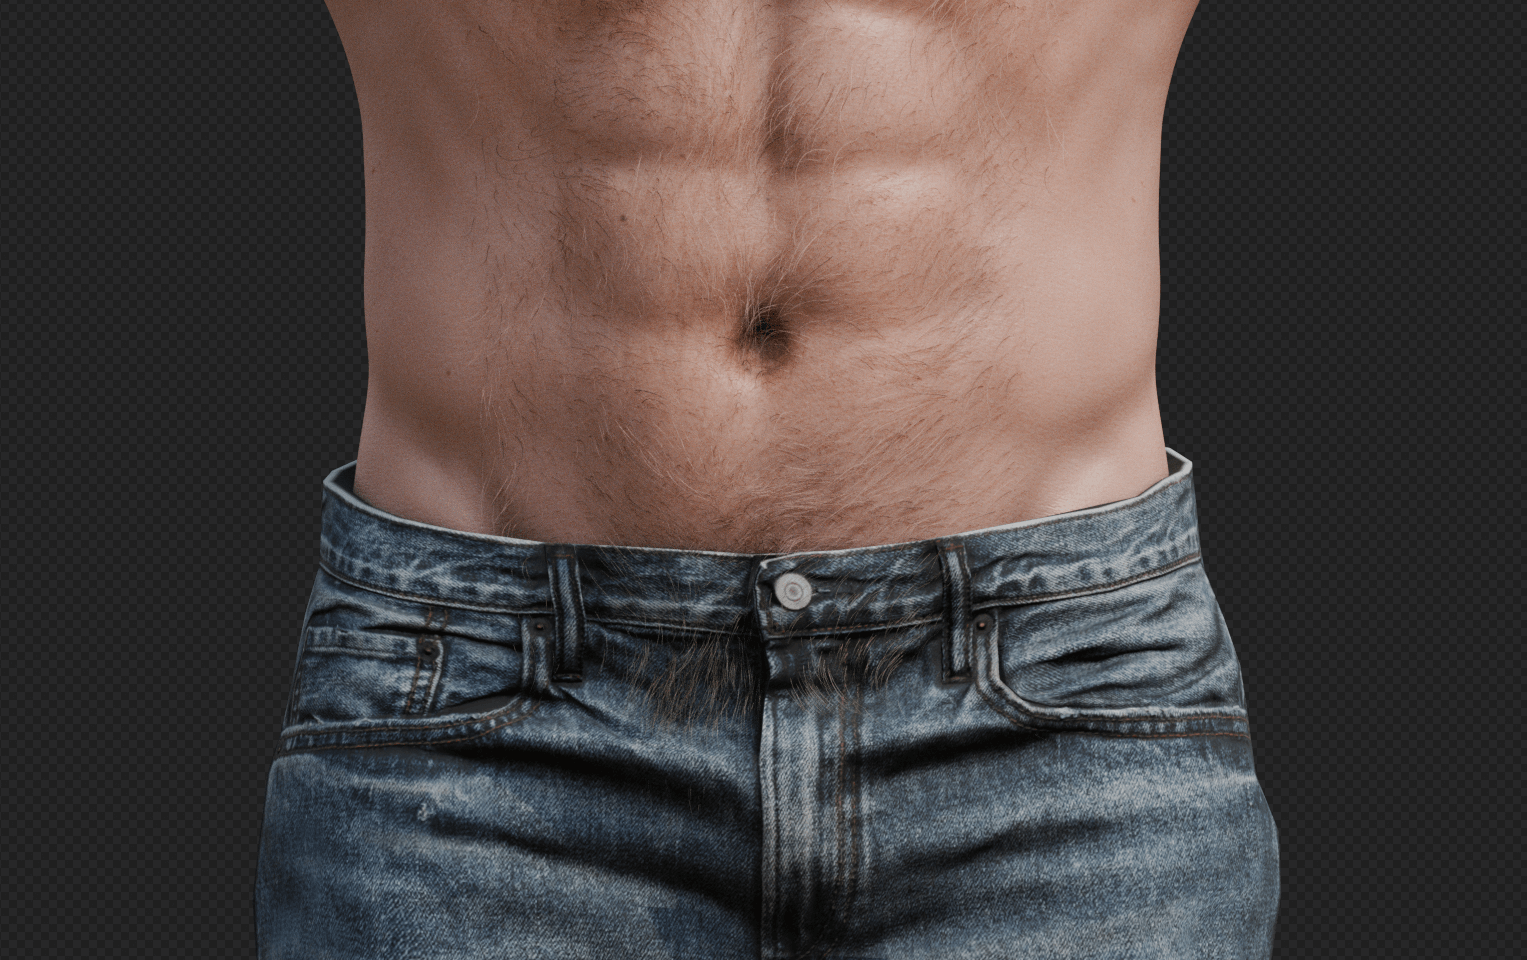
The core idea is to "fix it in post." By rendering the problematic areas separately and compositing them in post-processing software, you can quickly fix clipping issues.
Steps:
Initial Render: Perform a full render of your scene as usual. You will see the hair clipping through the clothes.
Create a Render Region: In Blender's render window or 3D viewport, press
Ctrl+Band draw a box around the area where the hair is clipping. This creates a "Render Region," telling Blender to only render what's inside this box.Hide Occluding Object and Re-render: In the Outliner, hide the clothing object that is causing the clipping. Then, render the image again. Blender will now render only the boxed region, and since the clothing is hidden, the hair will render perfectly against a transparent background.
Composite in PhotoShop or Affinity Photo
Pros & Cons:
- Pros: Very fast and non-destructive to the original hair data. It's the preferred method for fixing still images.
- Cons: Not suitable for animations (unless you are willing to fix every frame). Complex lighting and reflections might cause the composited edges to look slightly off.
Method 2: Editing the Hair Curves (For Stills & Animation)
This method is more permanent and solves the problem at its source by deleting the specific hair curves that are causing the clipping.
Steps:
Duplicate and Back-Up: Select the hair Curves object you want to edit. Press
Shift+Dto duplicate it. Rename the duplicate (e.g.,Ghost - Abdomen Hair Noclip) and hide the original hair in UI. This is a crucial backup step.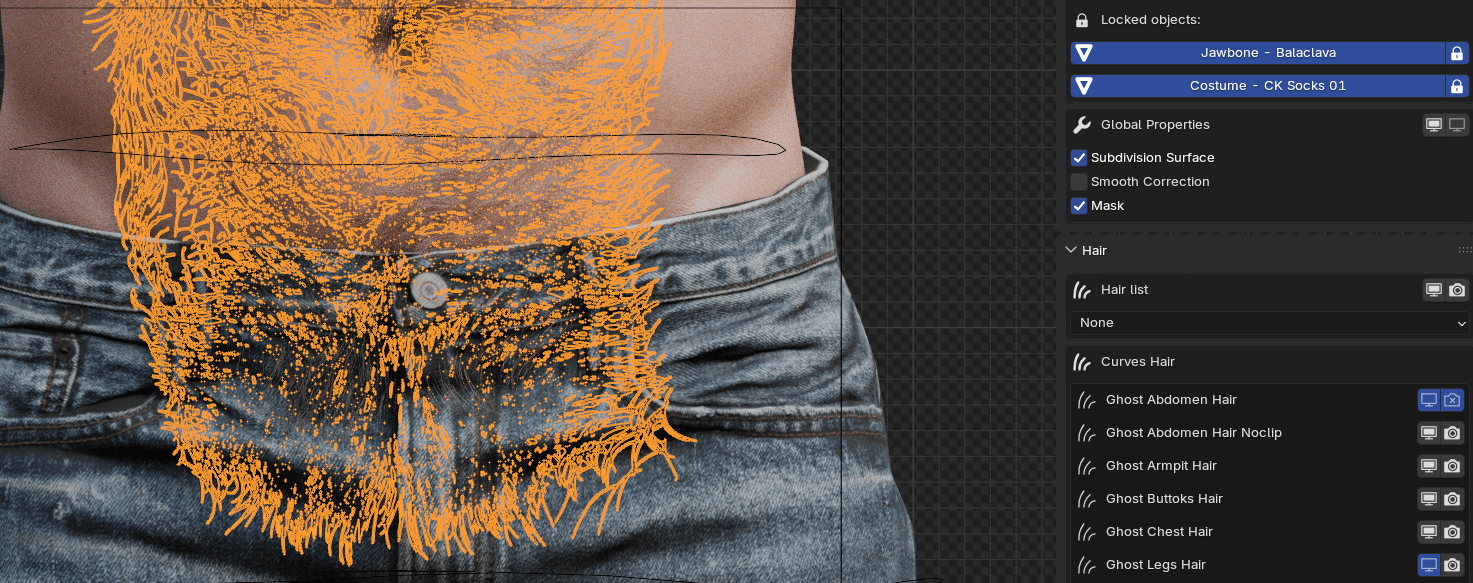
Enter Edit Mode: Select the newly duplicated hair object and press
Tabto enter Edit Mode.Select Clipping Strands:
Press
Cto activate the Circle Select tool.In the viewport, carefully brush over the points of the hair strands that are poking through the clothing.
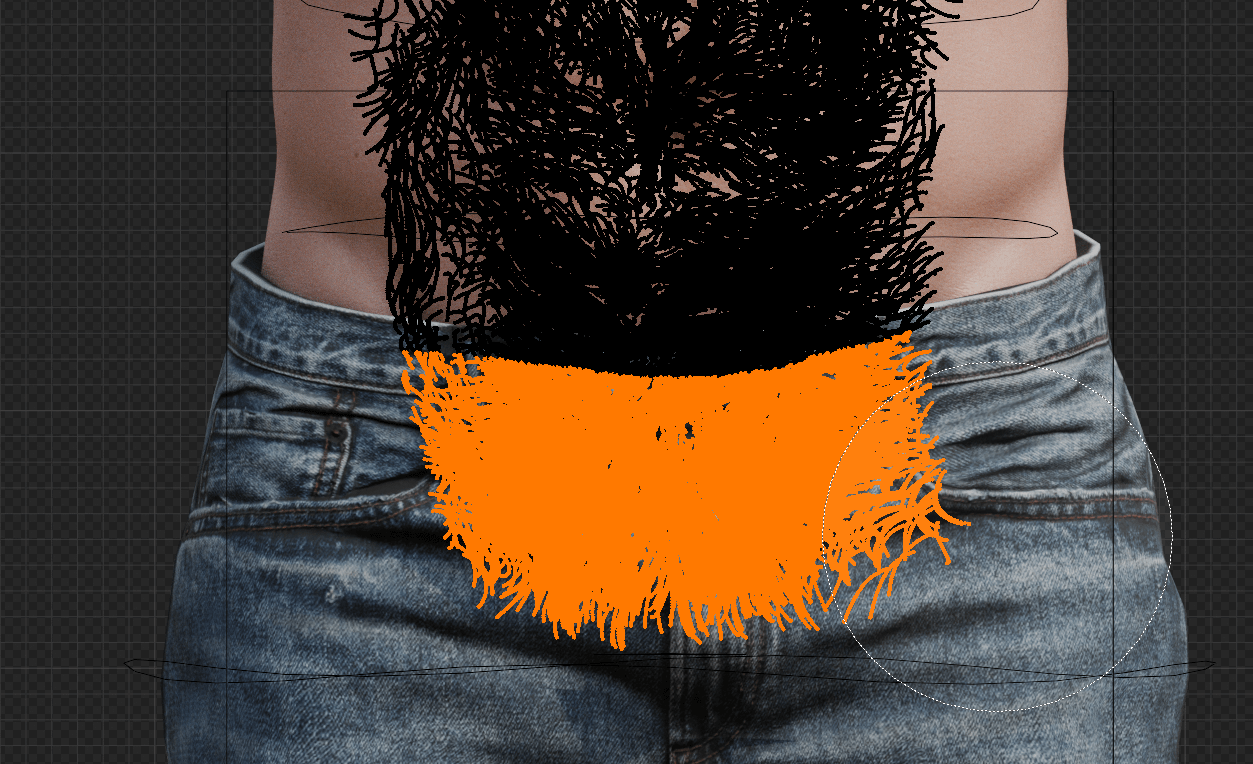
Tip: It's a good idea to select a little more than necessary around the edges to ensure a natural-looking transition after deletion.
Select Entire Curves: With those points still selected, press
Ctrl+L. This will select all the points belonging to the same curves (i.e., the entire hair strands).
Delete the Curves: Press
Delete(orX) and choose Points from the menu. This will completely remove the selected hair strands.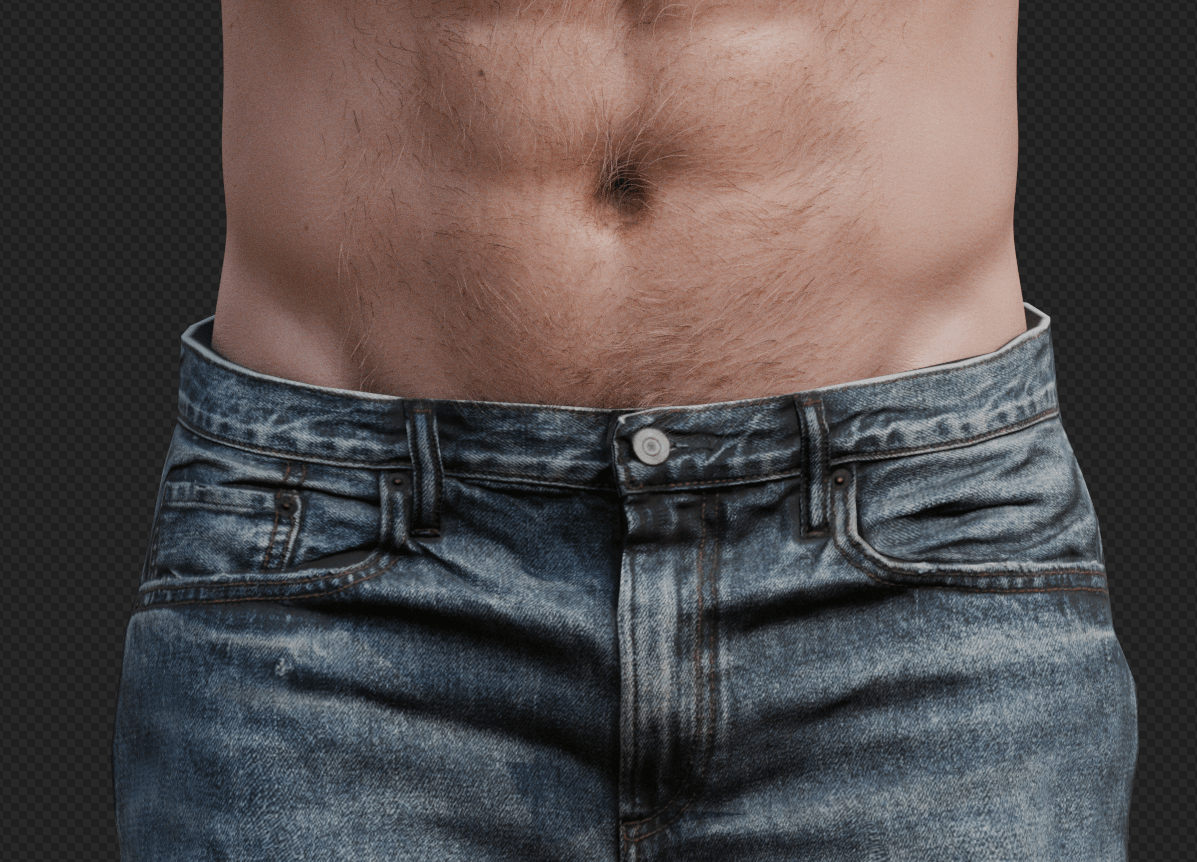
Repeat steps 3-5 until all clipping hair has been removed.
Pros & Cons:
- Pros: A "physical" solution that requires no post-processing. It works for both stills and animation sequences where the pose is fixed.
- Cons: More time-consuming and destructive (which is why backing up is essential). If the character's pose or clothing changes significantly, you may need to repeat the process.
