
Play with Call of Duty model
This guide will describe how to handle the raw files after extraction from COD and use them correctly within Blender.
This guide is for newer COD versions, not tested for versions of the game prior to COD16.
Required tools
External tool
- Converting COD textures (Github @Scobalula/GameImageUtil)
- Merge COD models (Github @Scobalula/ModelMerger)
Blender Add-on
- Semodel Importer (Github @dtzxporter/io_model_semodel
- DAZ Importer (Github @Diffeomorphic/import_daz)Optional
COD assets
Call of Duty Backup (Ckang' Drive Drive.Bu33y.com)
COD Models (DeviantArt @SquishyRob Collections)
About assets
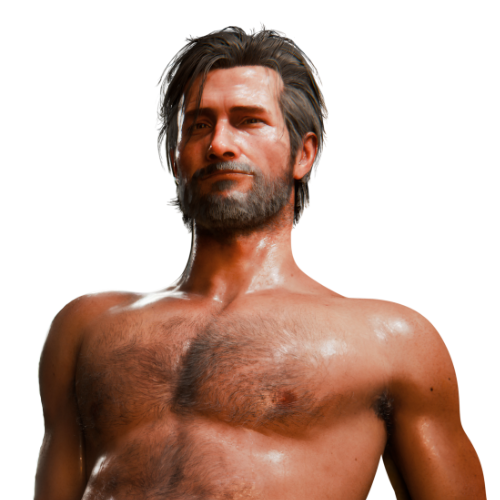
Here, I will use "Zhiqiang Zimo Wong" from COD19 as a demonstration.
This is a commission project, but the final results will be published free of charge.
You can download the corresponding model file by clicking here.

Merge body and head
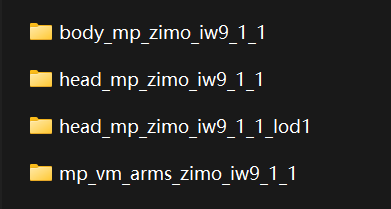
Once you have downloaded the model and unzip it, you will see the following file directory.
Head, body and arm are separated and you need to merge them manually to form a character.
Load the model with any import method, here I recommend using .semodel or .gltf format, you will find that the head is not correctly placed on the neck, but on the ground.

Manual merge
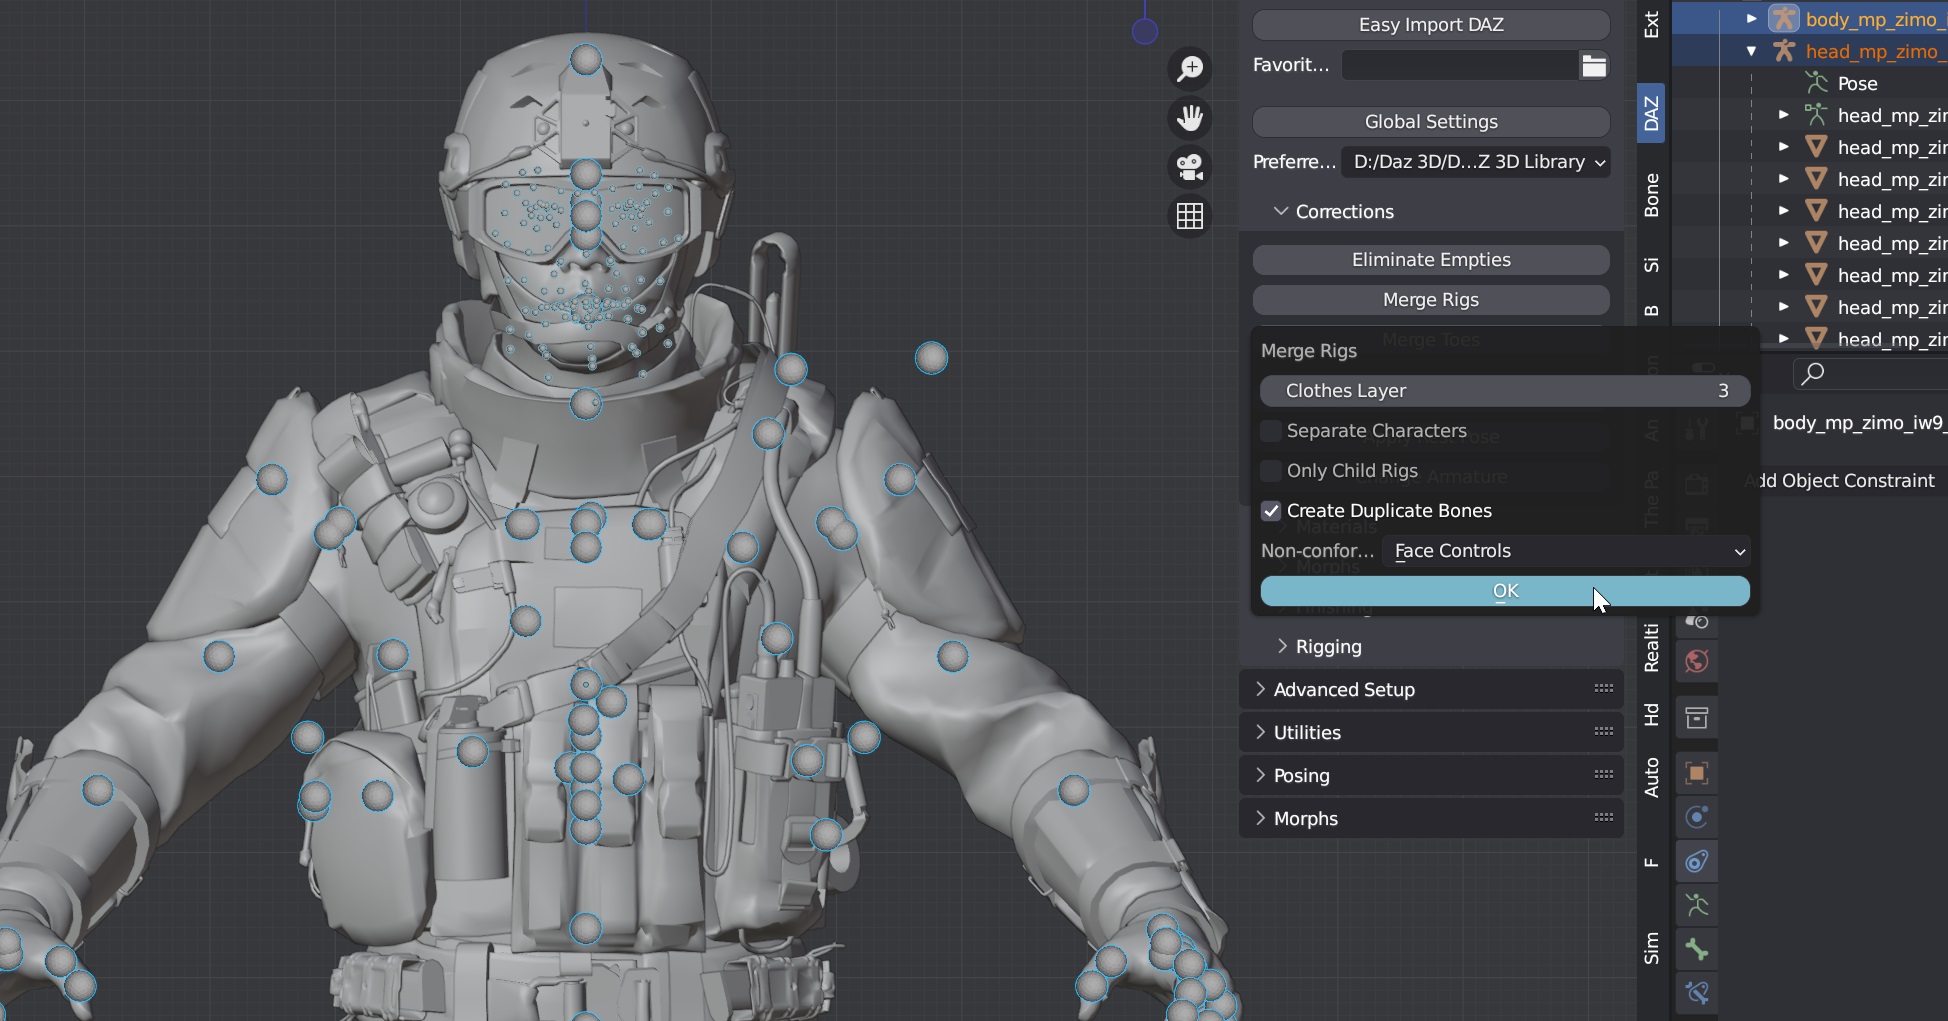
If you want to merge the head and body manually, you need to install DAZ Importer, for merging the armature of the head and body.
In Object mode, select the head armature and add a Copy Transforms constraint to the Object Constraint Properties.
Target: body_mp_zimo_iw9_1_1_LOD0_skel
Bone: j_spine4

Then place the mouse over the constraint press Ctrl+A or apply this constraint manually.

Next, select the head armature, then press shift and append to select the body armature, find the correction option in the panel of Daz import, click Merge Rigs, and apply, this way, the head will be merged into the body armature, and all duplicate bone will be merged and bind onto the correct parent-child relationship.
Automatic merge
Find the semodel of the body and head you want to merge, then drag and drop them together onto the icon of ModelMerger.

The tool will automatically merge bones after recognizing the model, and export to the Merged Models folder in the tools directory.
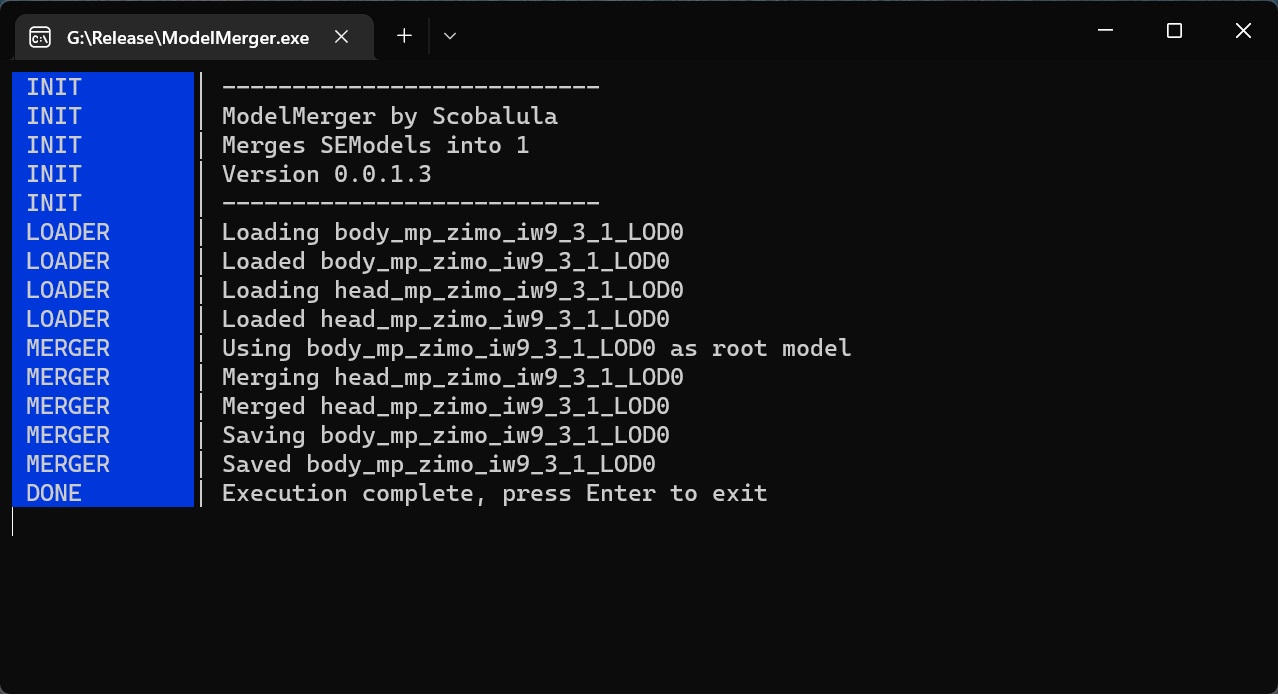
Next, load the merged model through blender and you'll get the same result as the manual merge above, but it's much easier.
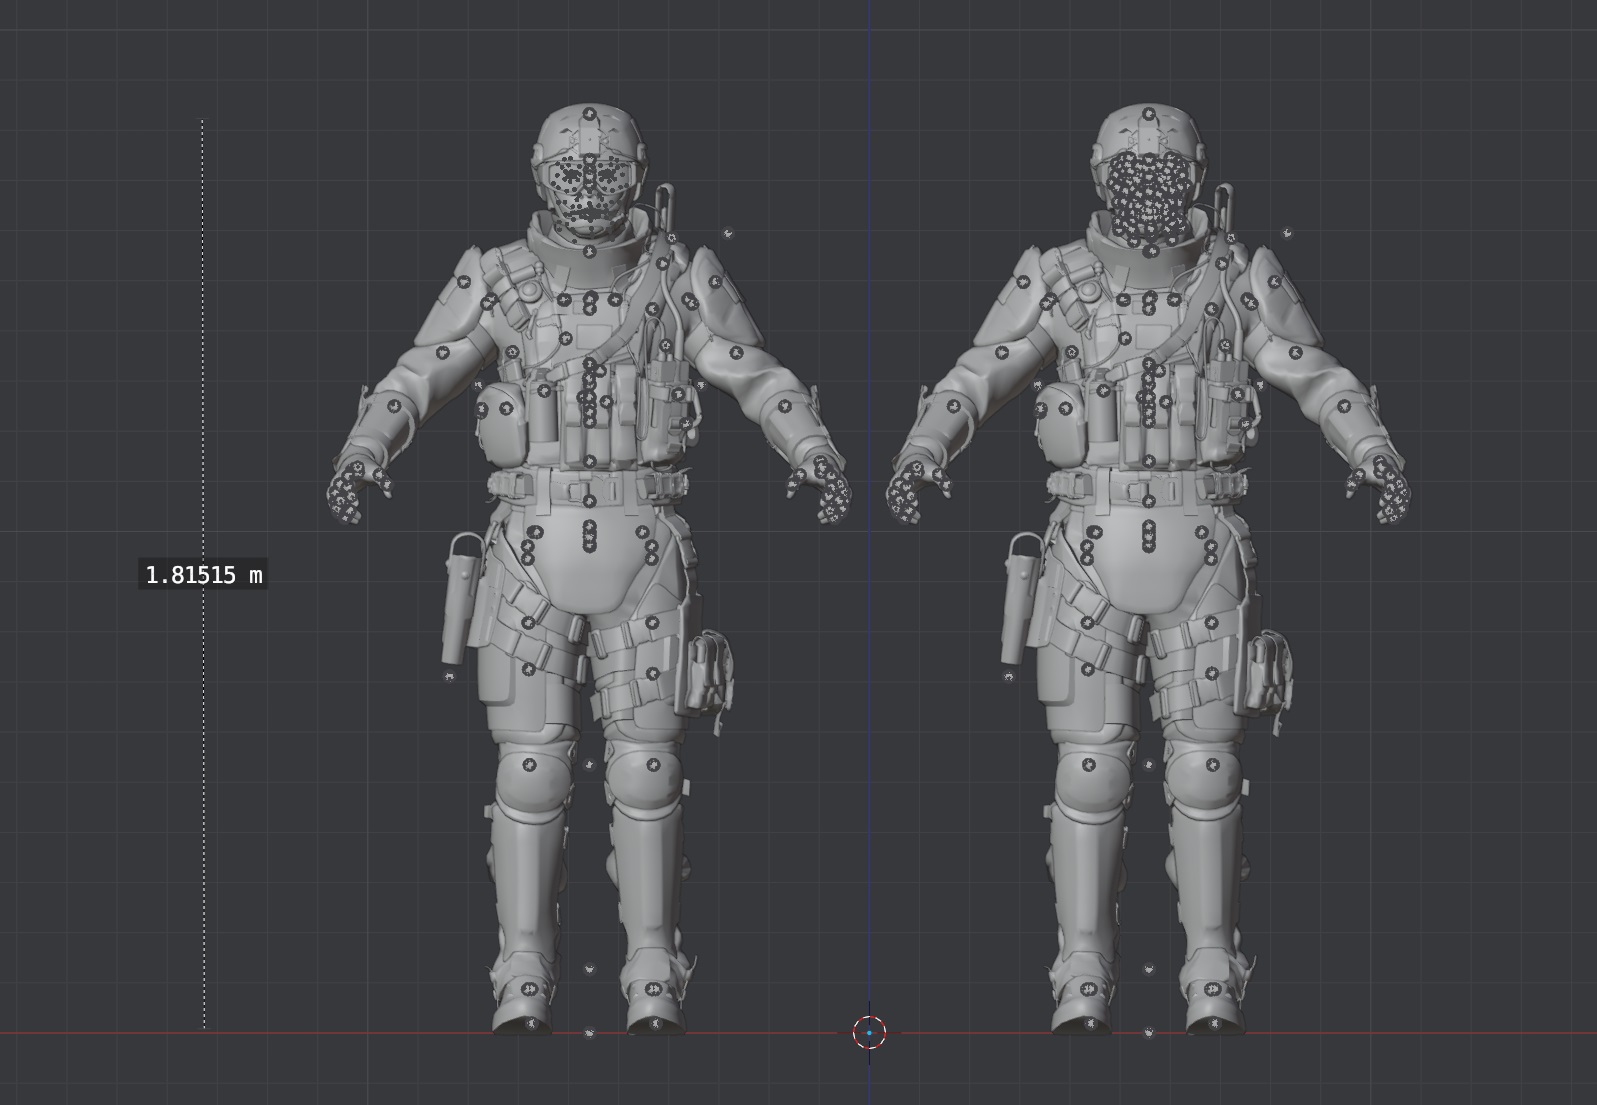
Correct rotation and scaling
After merging the models, you will find that the default angles and sizes of the models are not correct, as shown below, both the manually and automatically merged models are.

You can switch to the orthogonal frontal view, the shortcut keys are 1 and 5 of the num pad, and use the measurement tool to measure the current size of the model, we can learn that the model is 100 times the normal size and rotated by 90° in the Z axis.
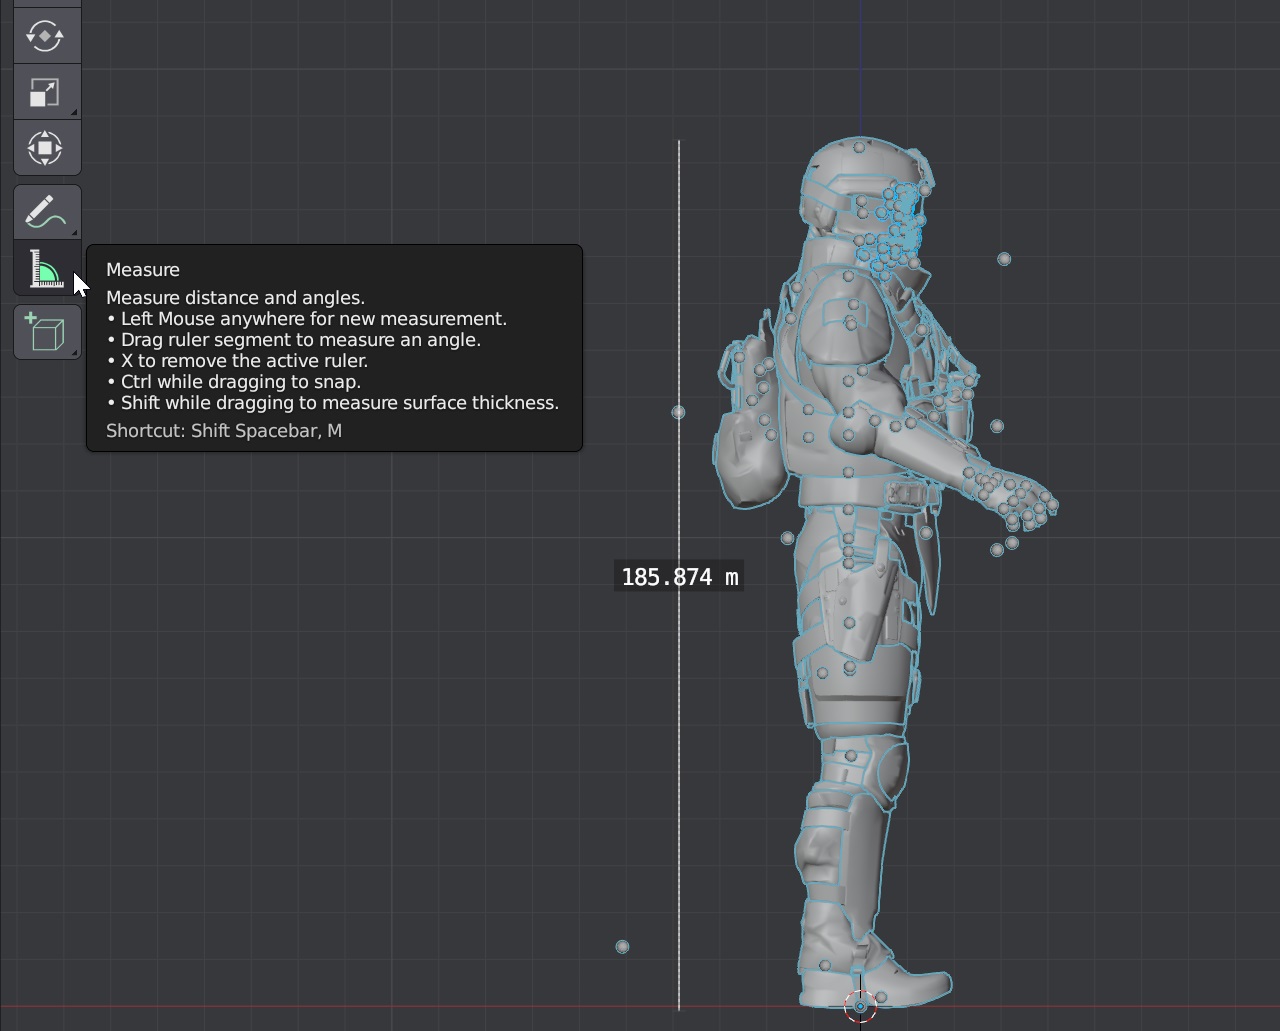
Then we just need to press A to select all, press R and Z to rotate and lock the Z-axis input -90°, then press S input 0.01, and finally press Ctrl+A to apply all the transformation.

Processing textures
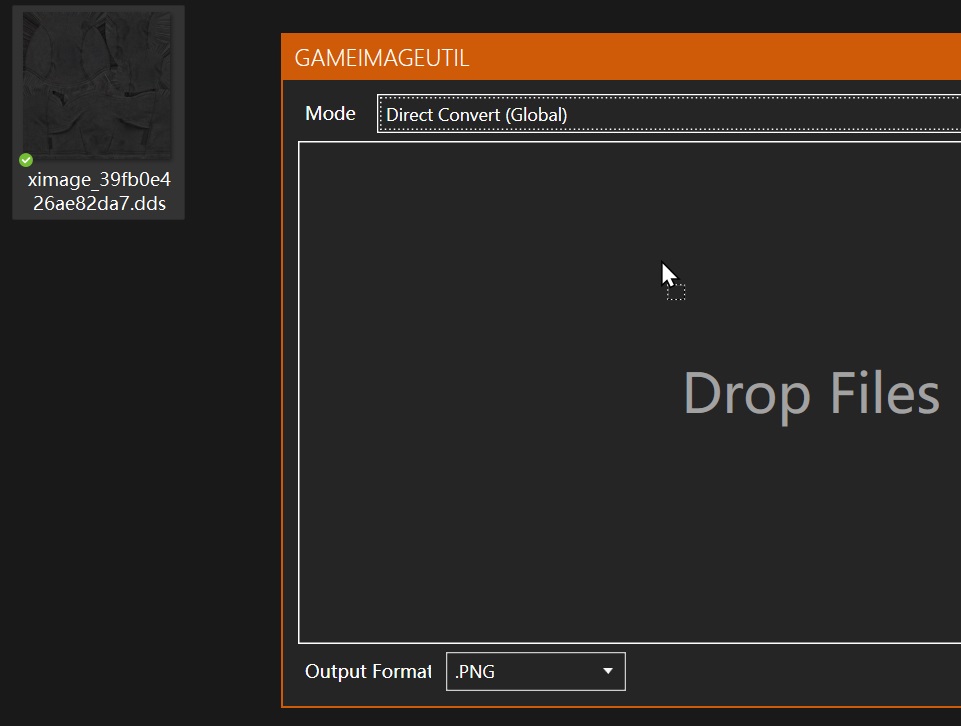
In past versions of COD, most of the textures could be converted and organized by dragging and dropping cast files into GameImageUtil.
In the latest version of COD, you need to manually go into the textures folder and drag and drop the corresponding texture to convert it using the corresponding processing.
TIP
If you are unable to view textures in DDS format through thumbnails and image viewers, you can read this guide.
Skin texture
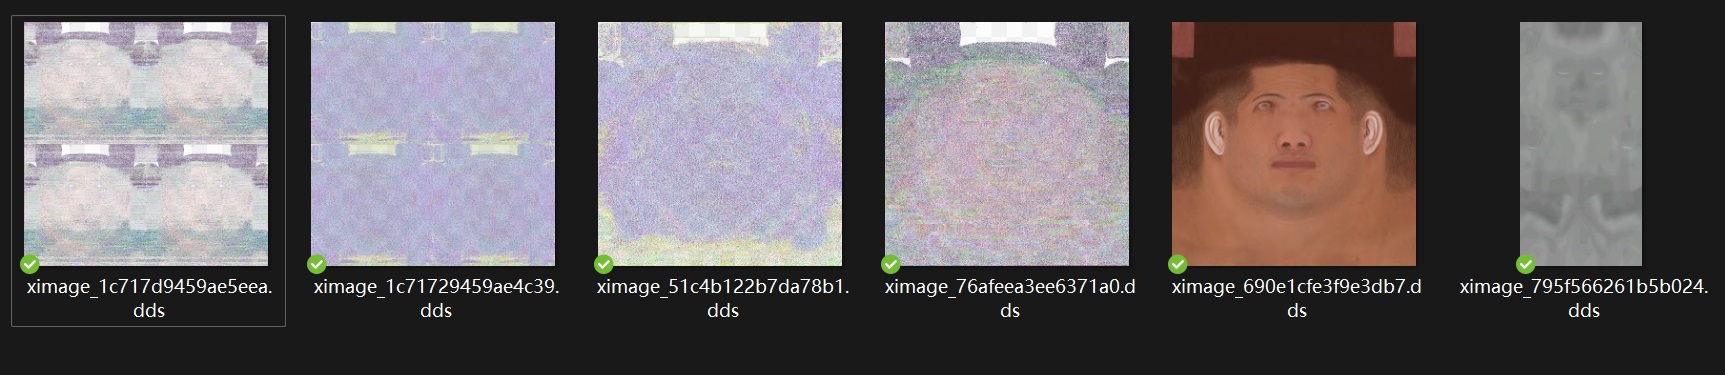
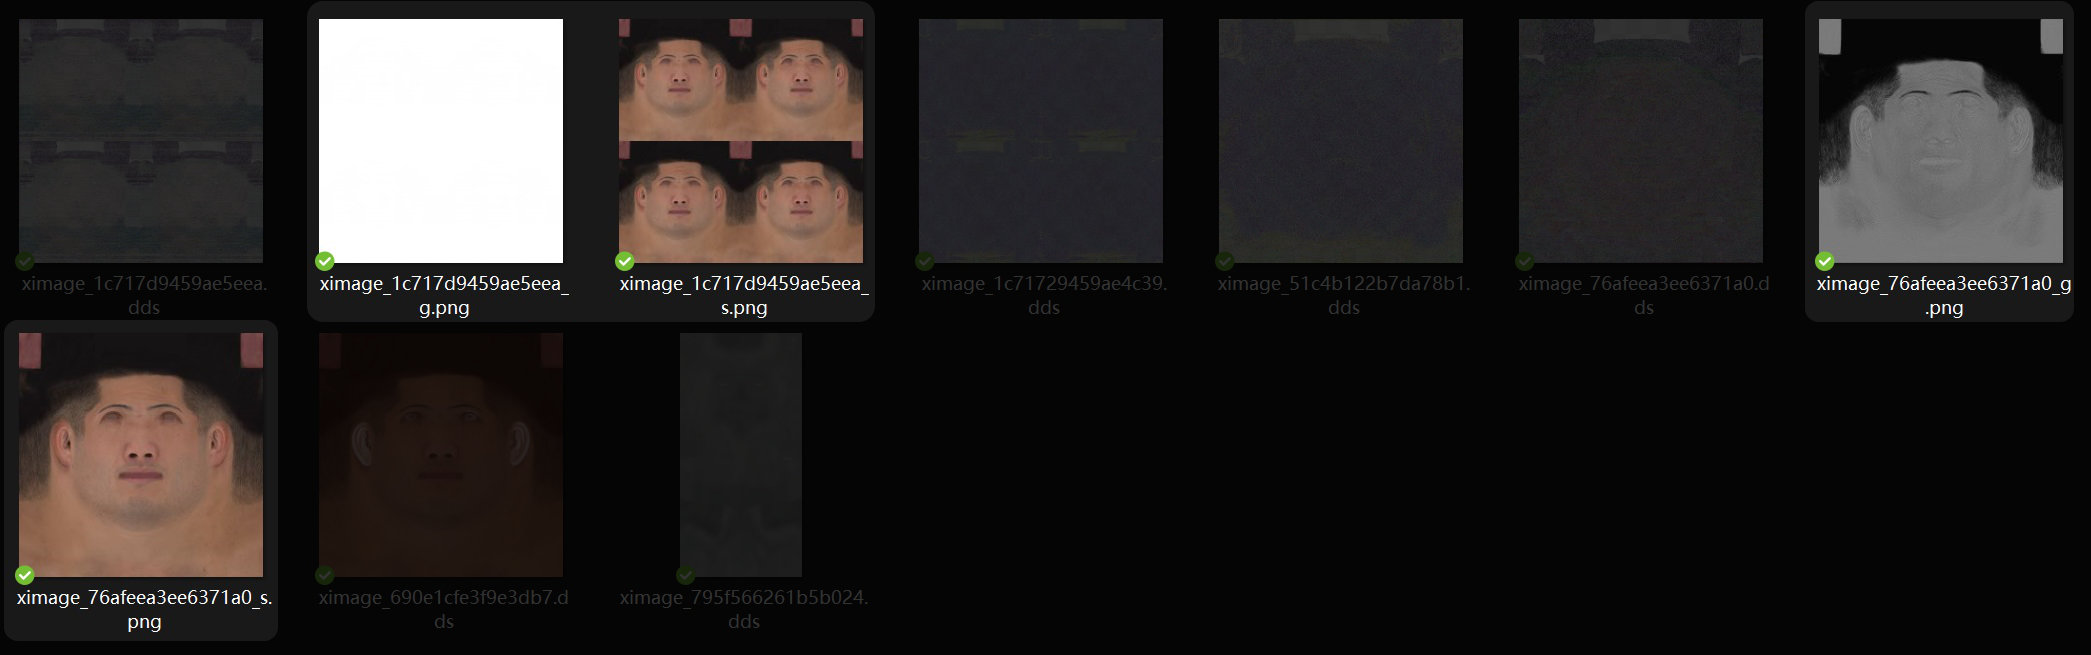
Go to the corresponding folder and you will see the following textures:
If you drag and drop the texture directly into GameImageUtil, you will find that the textures it generates are only converted to the corresponding format, like .dds to .png.
In order to reduce your manipulation within software like Photoshop or Affinity photo or even Gimp, I suggest you refer to my way of handling textures.
First, ignore the last two textures, we will not use them under normal circumstances (SSS Color with large AO and heat map that will only be used in the game, respectively)
Determine the Normal/AO/Gloss map and Albedo/Specular map by looking at the correct dds.
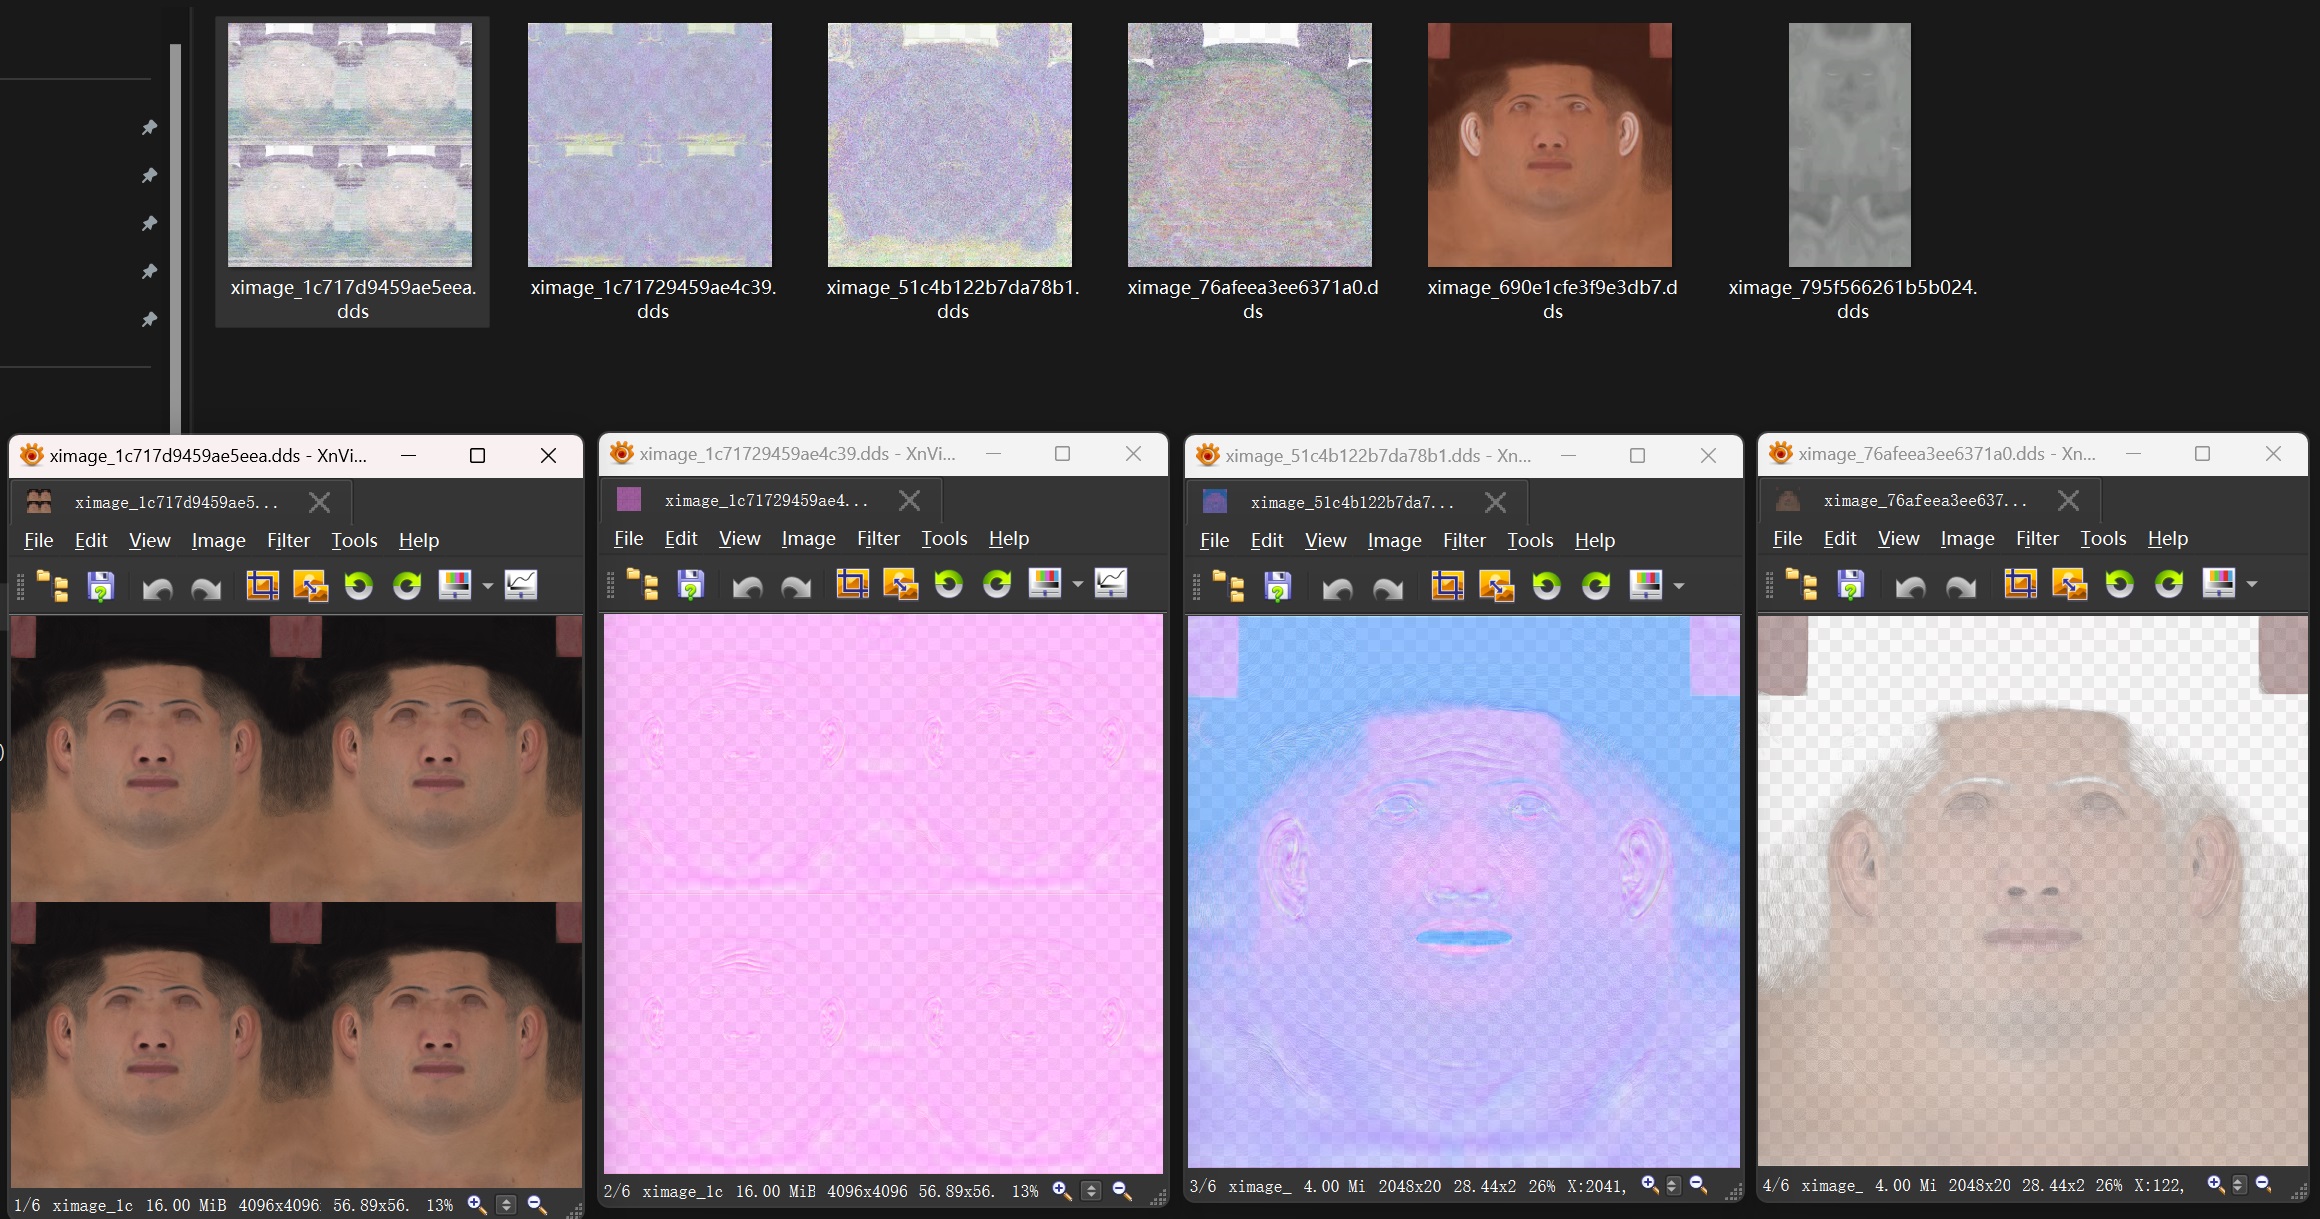
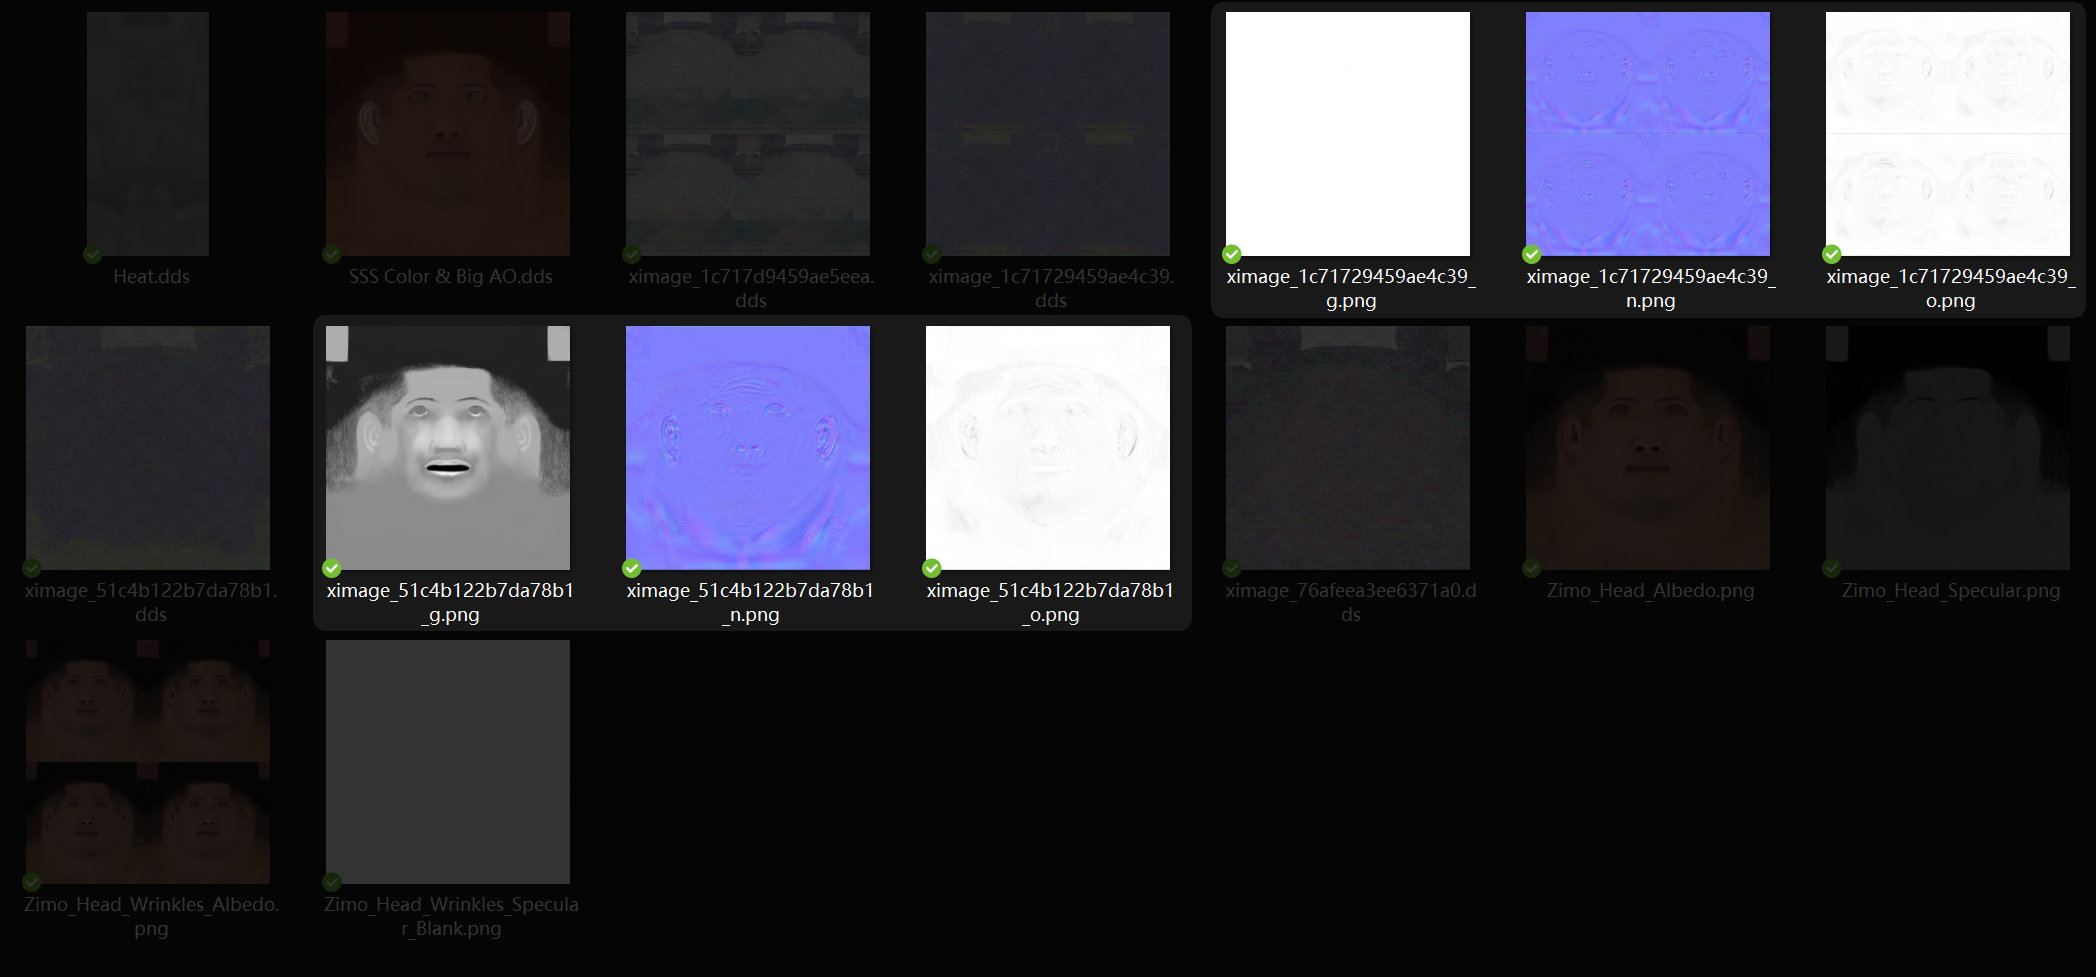
From the above image, we can tell that the first and fourth are Albedo/Specular maps, and by using CoD Spec/Gloss (RGB/A)(Multiple CoDs) mode to output the correct textures(Specular and Albedo maps), as follows.
Then, using CoD Normal/Gloss/Occlusion (Infinite Warfare/Modern Warfare) mode to output the correct Gloss/Normal/AO map, as follows.
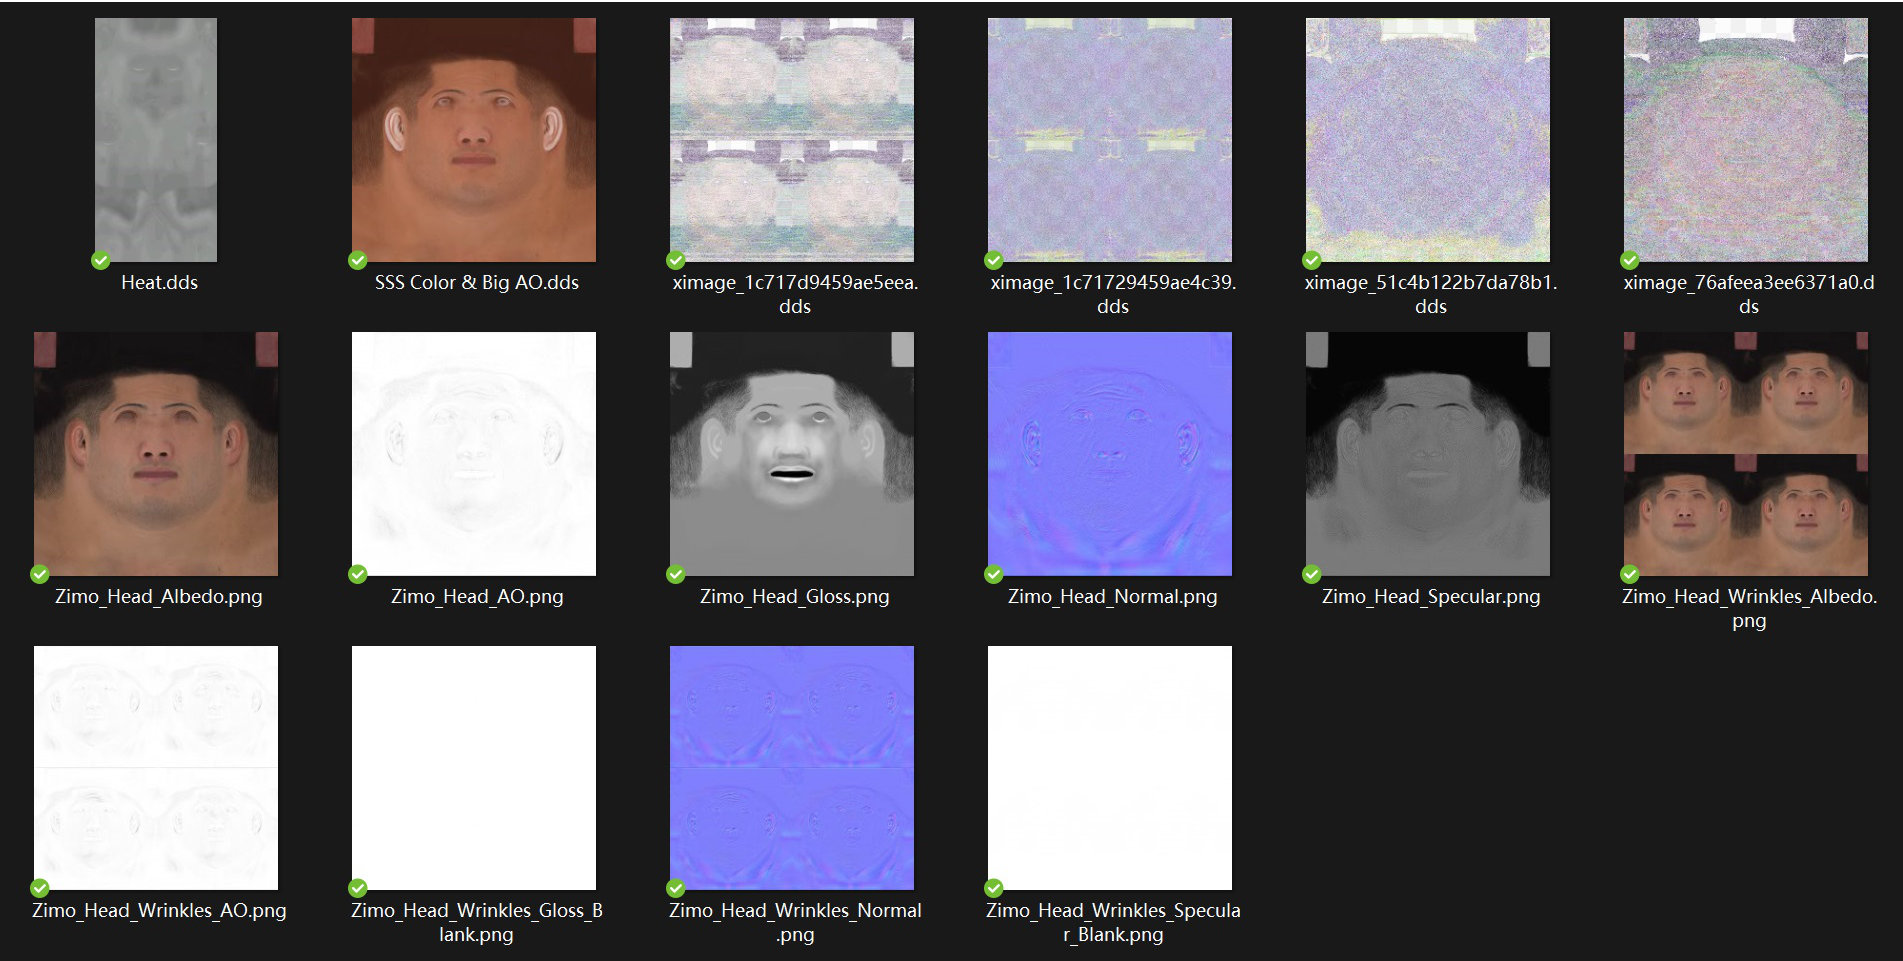
After renaming the textures, the following results can be obtained.
- Then to introduce some addition and subtraction:
- Albedo + AO = Diffuse
- Gloss + Invert = Roughness
- DirectX Normal + Green Channel Invert = OpenGL Normal
- Remove Blank map
You can do it in external software like Photoshop/Affinity Photo, or you can do it inside Blender with shaders.
Different processing methods of GameImageUtil will make Normal textures present different results. The tool author has implemented Activision's calculation method under this version, so the results in this mode are the most reliable.
Of course, even if you use the straight-out mode, it does not affect the final rendering, so be kind and use the way you like.
INFO
To come to the above conclusion, I spent 2 hours going through the tool source code and some papers, feel free to check:
- Infinity Ward Rendering of COD
- Zina H. Cigolle Survey of Efficient Representations for Independent Unit Vectors
- Alex Vlachos, Valve Advanced VR Rendering
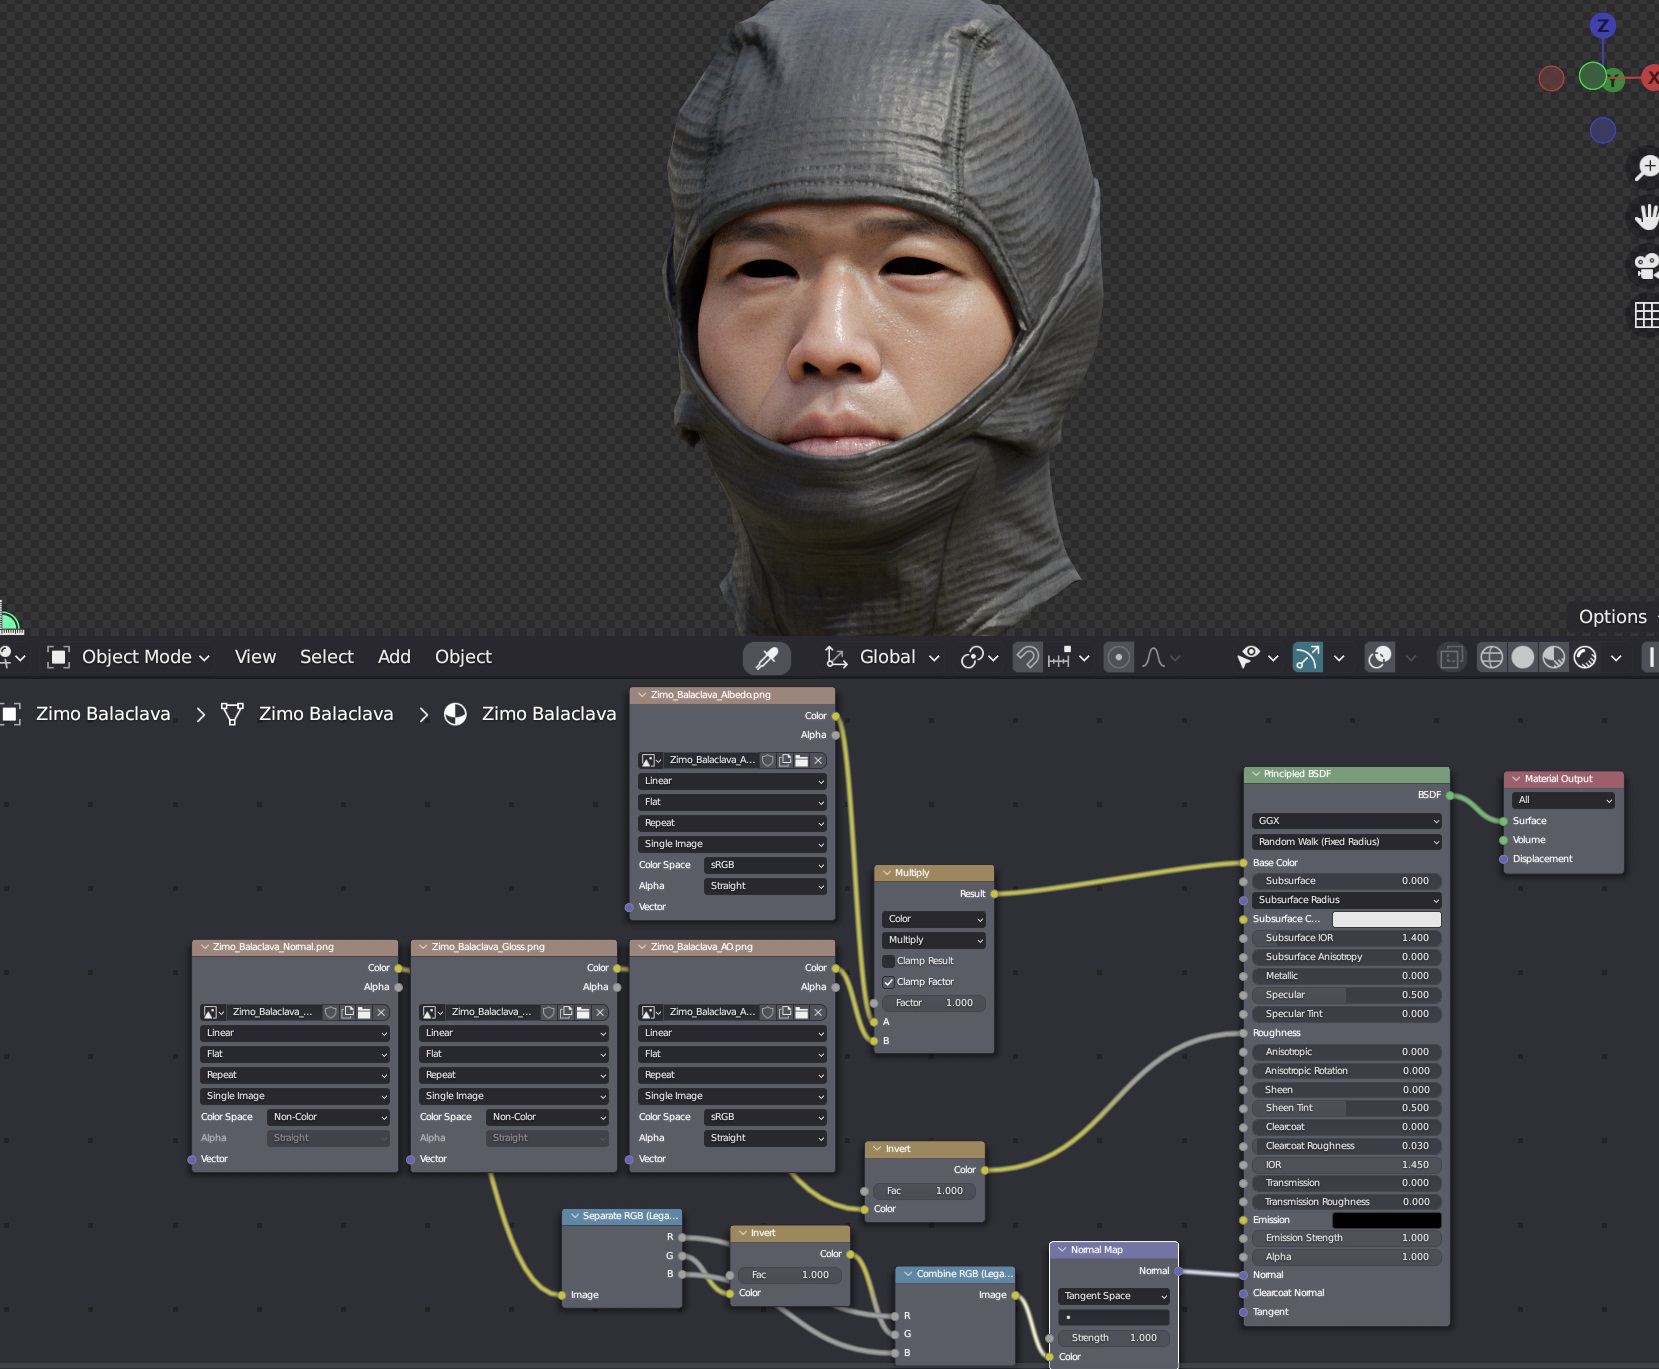
Shader node setup

Normal compare
New algorithm Normal vs old algorithm (direct conversion) Normal

Costumes texture
The costumes have more textures because the accessories on the characters are separate objects, which takes a bit of patience, but trust me, it's worth your time.
This is relatively repetitive work, here I will demonstrate the Balaclavat with pure fabric and the Head guard with metal parts.
Balaclavat
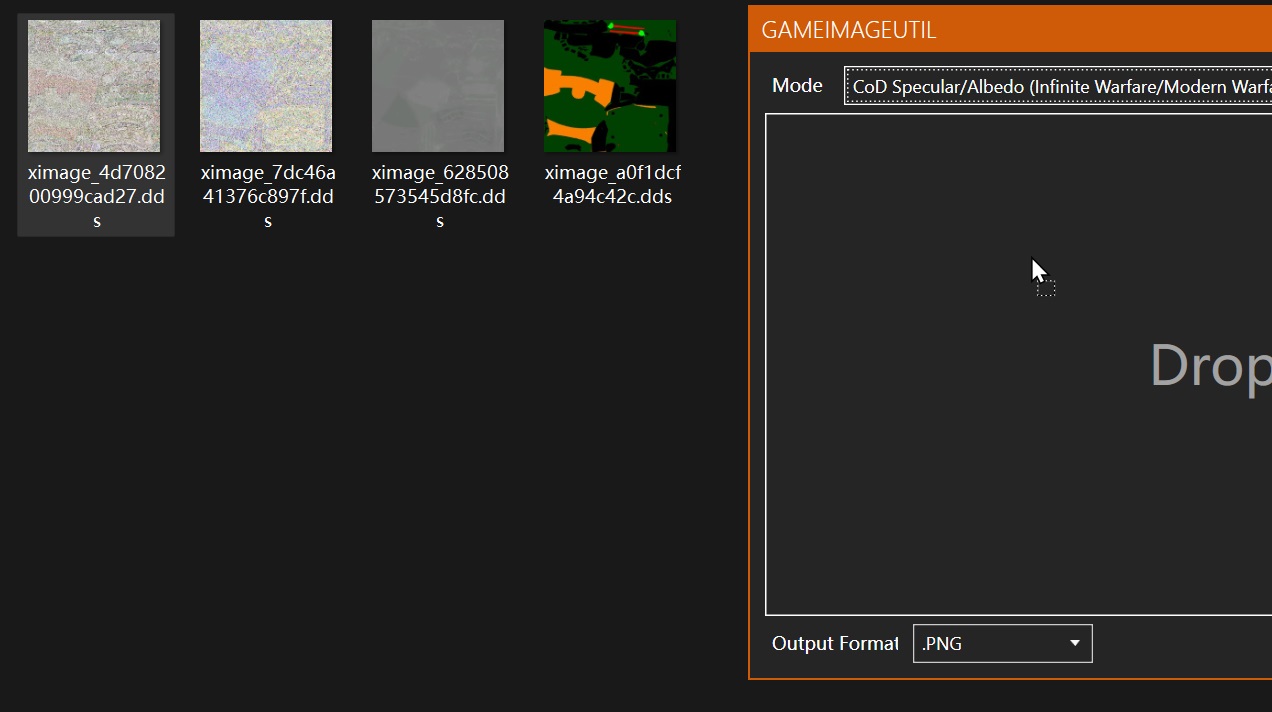
Find the folder with the Balaclavat texture, drag and drop the Albedo/Specular maps into GameImageUtil and process it with Automatic or Direct Convert (Global) mode.
Because this is pure fabric and does not contain metal parts, there is no need to consider whether the alpha channel in the Albedo/Specular maps stores metallic data.
Then, using CoD Normal/Gloss/Occlusion (Infinite Warfare/Modern Warfare) mode to output the correct Gloss/Normal/AO map, as follows.

Then just refer to the previous connection and connect the nodes in the shader editor。
Head guard
Textures of models with metal parts will store the metallic data in the Specular(Metalness mask) of the Alpha channel in the Albedo/specular maps.
However, please do not extract the alpha channel directly as Specular(Metalness mask) map, the correct Specular map is one that contains color, not pure grayscale.
Use CoD Specular/Aldebo (Infinite Warfare/Modern Warfare) mode to export the required maps normally.
Then, using CoD Normal/Gloss/Occlusion (Infinite Warfare/Modern Warfare) mode to output the correct Gloss/Normal/AO map, as follows.

Just rename the maps and connect the nodes.
